Showing posts with label Tutorials. Show all posts

Monday, 7 November 2011

Bib tutorial. AKA slobber cloth

I found a little time or should I say I tested out to see if my little guy would give me time to sew....

The materials you will need:
  • A really cheep towel (I got mine for 2 euros)
  • Bias tape
Of course you will need the usual scissors, pins, paper, pencil etc.

Ok... baby check?
Good!

This is my cheep towel--- kinda funky but I like it!


There are many styles of bib and many ways to tie a bib closed... Velcro is fantastic but the only problem is that the most available in shops is realllllllly scratchy. I prefer it but I have worked with the bias tape tie instead because it is softer... putting in velcro isn't rocket science either!


Find a bib you like and trace around it.... I traced around the half of the bib.....

Put it on the fold of the towel and cut out...

  
Ta-da! Already nearly done. So easy.


Then pin the bias tape on the top edge and sew it.....


Baby check... gooooood...


Ah!! Sidewise!! But just add tape tot he rest of the bib- not forgetting extra to tie it closed at the ends...


 oh-oh.....

 I had to take a break and calm the beast... It took a while and some food and cuddles but I did it.


When papa came home I was able to finish up the last slobber bib.


Phew!


Friday, 29 July 2011

Rhino snuffle tuch

It really is a hunting gallery, but I am enjoying the rhino shape and design.

This is just a little walk through of my thought process on making it. I think it can be quite nicely revised but as a first it is not bad. It works and that is all that matters. There is trial and error, but every good project is like that- especially when you make it up yourself!!

The toy worked out really well but the biggest problem is that the buttons are a little dangerous for little ones who do oh so love to jam everything in their mouths. Also, the Rhino toy is soft but cuddly for bigger kids (or adults!)

I love 'snuffle tuchs'. Animal head and fabric body. I have only ever seen them here in Germany- I am sure they are available everywhere. The figures they use are really sweet but a little boring- rabbits, mice, dogs.. etc. I did see a fox that was rather sweet but my Rhino is more fun. I tried to hunt out the towelling like material but I couldn't find anything- and certainly nothing nice (horrid colours!)


Ok... so I started with a a head... the horns, stuffing and a few sketches. For the head I used one of my husbands old shirts.


I bought some velvety stretchy like material. Good green... maybe a little dinosaur like, also not a bad idea but the ears are already on.. next time. A red one... with some yellow? Hmmm. Anyway cut a length I thought was generous and centerd the head for a feeling of the toy.


Now the tricky part... how do you attatch a triangle shape head in the center of the fabric?? Keeping it 3d and not just a floppy, flat seam sewn head?

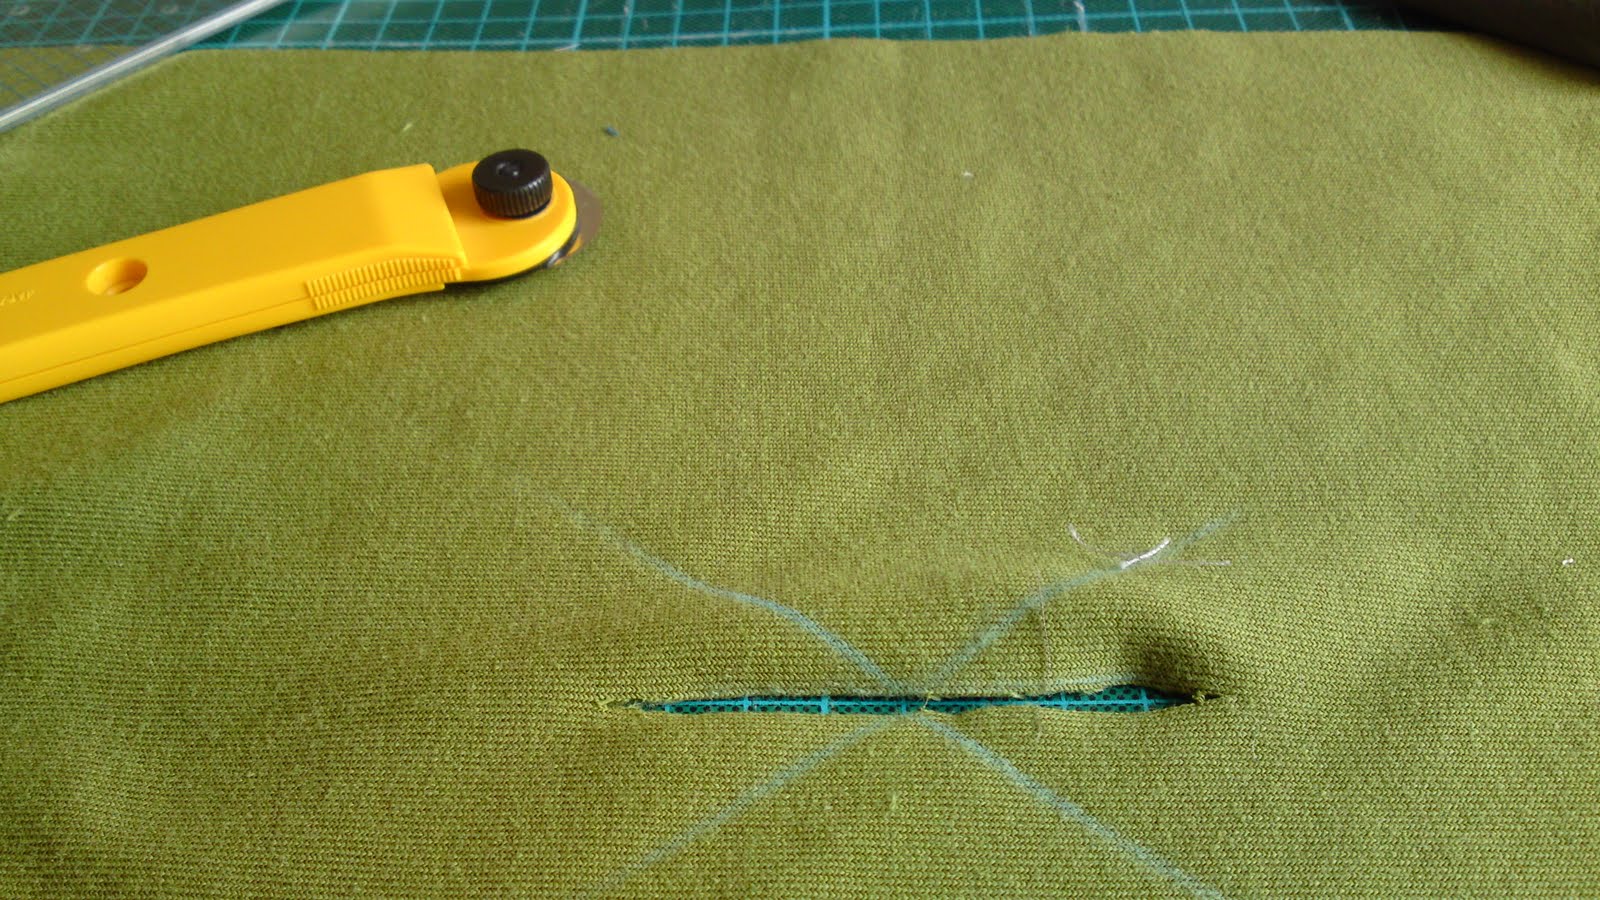
Well, sure a triangle but do you really want to cut so much material away?? Ok, start small work up. I measured the head size- length at the bottom- and cut a slit in the middle of the material. Memo, cut a little smaller, half centimeter, I did nothing wrong but since the material stretches it also rips a little. Was perfectly ok, just a memo for next time.


Pin the head and the fabric... does it work? Yup!


I had to add a little tuck at the back of the Rhino green fabric- I think that was due to the triangle shape.


Sewed around it.... its a curve. Fiddly but not impossible!


And the tuck looks good!!


Next choosing material for the underside- not really needed but adds a little something!


Yup, the lighter material. And please note my mistake here... DON'T STUFF THE HEAD!! Makes it tricky to sew. I think a revised edition would be to leave a seam open on the neck of the head for stuffing later-- better idea!


So sew the head onto the white material- Around the shape of the head with the white material underneath- in effect closing the hole where the stuffing is. My mistake- yup, stuffed head- and the double mistake was the head wasn't fully stuffed so I stopped half way, left a hole and carried on stuffing- impossible to sew the rest! I ended up sewing the head on by hand. It isn't ideal but it worked really well.


Lastly just sewing the eyes on and the little horns.

So, I hope that helped anyone else who would like to give it a go. It is not impossible but tricky!! Also the green velvety fabric was a COW to hem. I wanted to put a bias tape on it but it didn't work at all. Maybe lack of my skills but I have a sneaky feeling it was the green material- velvety and kind of 'pushed' it off. I think I tried 6 times. Lots of unpicking and bad humour!! Possibly ironing that double sided interfacing would help keep the tape in place. Grr...

In the end I folded the edge and zig zag stitched it. If I am honest not what I really wanted--- but it has something.... I rather like the feel of the zig zag and since it is for little ones I am sure they will enjoy running fingers over it.

Saturday, 12 June 2010

Ok, so I work with kids. The weather over this past week was wonderful. Was.

Now its nasty and I wonder if the summer came in went!

I have a class of almost ankle snappers and quite honestly shocked at how many parents forgot hats! Are they crazy?? So I ran up the road and bought some very VERY expensive material and got the nice useless man to cut (aaaaaah) nice 50x50cm squares and quickly tied them on the heads of the kids.

So here is how the strawberry pirate head scarfs are made. It is not rocket science!! Someone asked me for a pattern and I kept telling them there is no pattern!! It is easy as pie I just hope I explain it well. I also don't have any of my little pirates to hand to model for me so I hope it is obvious the elastic is around the BACK of the head and not the front!!

  • Buy some nice and expensive material or use left overs.... This square is roughly 50x50.


  • Then simply make two triangles out of the square

  • Use that fantastic, and at times fraustrating, roll and pin to hem the edges- or you can use bias tape which would look great.
  • When you get to one of the two narrower corners- flip the corner in and manipulate the roll and pin method on it.


  • Once you have finished pining the scarf sew it. You have finished a basic pirate style head scarf! Easy! 
.........................................................................


  • You don't have to do this part but it adds a nice touch to the scarf and stops it from falling off. Cut 10x5cm from a scrap of fabric and about 5 cm long elastic (I made this one too big, blast!)

  • Fold the 5cm edge and pin the elastic to it- I made this up as I went along and it worked out really well.

  • Use the roll and pin method- I know sounds weird but it works!! and pin the edges of the 10cm together. It is a little fiddly but not impossible! Sew it shut.
  • Next you want to mark where to put the elastic strip on the head band. I tied the pirate head scarf on the kids head to find where the creases where and worked it out from there. As I found out this can fit small kids as well as big kids (3 years to 8 years and probably older!)


  • Flip the point of the triangle up to the top edge and mark with your nail, pin etc about 15 to 16 cm in. It's not rocket science it doesn't have to be perfect!


  • Do the same for the other corner and mark it.. (can you see the pin?)

 
  •  Pin the elastic strip down and sew it.  The left over material that hangs down when the scarf is on can be tucked under the leastic. You can also still tie a little knot with the ouside edges, or leave it... as you wish.
Done!


I really need a pirate model.
Related Posts Plugin for WordPress, Blogger...